How to master your next architecture crit

Architecture crits, or my preferred term, architecture reviews, are how you communicate the ideas and resolutions that you have been working on for the weeks or months prior. It is how you show everything, the hours you have spent thinking about your project, the ideas you have tested and the models you have used to explore different ideas.
It is the only way to:
Prove you have actually been doing work and have not just found an idea on pinterest and submitted as your own and,
That you know and understand what you are talking about
These reasons make your architecture review one of the most important parts, if not the most important part of studying architecture. Get them right and your ideas are efficiently shared with your tutor, nothing is missed and you finish your architecture review confident, and hopefully with no regrets. Get it wrong and all your efforts can be lost in communication, or I guess lack of communication.
In this blog I walk through the 6 stages of an architecture crit that you need to prepare for: The Intro, Site Analysis, Concept Design, Design Development, Final Design and of course the Questions at the end but first.. how do we prepare?
I hope this are helpful and if you have anything else to add, please write them in the comment box right at the bottom of the page. It would be very helpful for everyone else reading this too!
Enjoy! :)
BEFORE THE CRIT: HOW TO PREPARE
The preparation for your architecture review comes before the morning of your review, it is not something you practice once you have pinned up and are waiting for your turn to present. It is something that really, you should be thinking about throughout the design process to then be able to confidently put together a panel of work to proudly stand in front of and present.
Choosing The Visuals
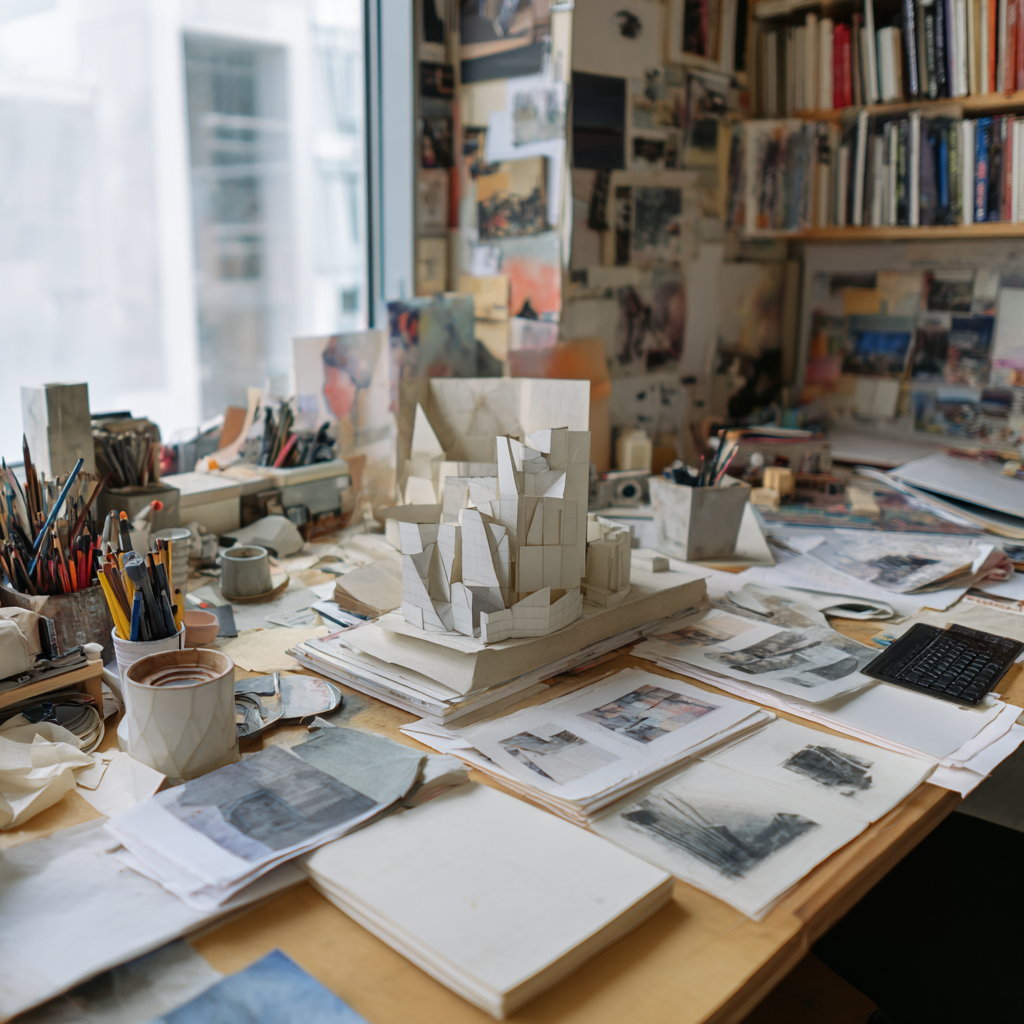
The absolute first thing you need to do is look through your work and figure out what you need to pin up to be able to confidently and efficiently show off not only your final design, but your process as well. Really, your panel should be able to talk for itself, someone should be able to look at it and understand your project without your presence. Below are a few examples of how I have organised my panels.
ORAL PRESENTATION
Once you know what and how you want to present your work, you need, like I am saying, an absolute need, to practice your presentation. Especially where you have been given a very specific time limit. The university I attended which I also taught at, graded you on whether or not you stuck to the time limit or if you were significantly above or below. I have seen both and neither are good. A student who is significantly under, 3 mins out of the 5 for example, shows a lack of preparation, sometimes nerves, but it can also be interpreted as lack of care. A student significantly over, 7 mins instead of 5 for example, shows perhaps a passion for their work but it also shows a lack of preparation and inability to focus on what is important.
The necessary tools
The last thing to prepare for is the actual pinning up process. Do you have pins for example, do you know the dimensions of the board? Have you factored in enough time to print your work and then on top of that, enough time to print again if something goes wrong? There are limitations to how prepared you can be without it being ridiculous but ensure you have the basics so that you are not starting the review day panicking because your sheets are too small and you have nothing to attach them to the board with.
Now, let’s get into the presentation itself. I always split my presentations into 6 stages: an introduction to your architecture project, a summary of your site analysis, how you moved into concept design, how you then developed your design using sketches, scaled drawings and models, your final design and how you present it and then of course the questions at the end.
THE 6 STAGES
THE INTRODUCTION
The introduction to your presentation sets the tone and it is always best, whatever you are doing to be honest, is to start how you mean to go on.
For your architecture review this means confidently stating your name. This may seem and feel silly, especially if you are presenting to a tutor you have known for months and students you have worked with in the studio, but trust me, it is necessary.
Hello, my name is Aliya and my project is x.
It is such an easy segway then to briefly introduce your project, the brief, client, any main themes and highlights of your design you want your tutor or students to look out for.
Site Analysis
Following your more general introduction, then need to move into more specifics, starting with the site; where it is, what is interesting about it, before then moving into the more detailed, but relevant to your project site analysis. What were some of the constraints and opportunities? How does the light move across it? Your site analysis should then lead you right into talking about your concept design.
Concept Design
You’ve set the scene, now let’s get into the design work - starting with the general ‘theme’ or inspiration behind the design also known as the concept. Show the very earliest sketches you have leading to the latest right before you start to finalise your ideas. The messy and the neat. Top tip I used to give students who were a bit nervous about sharing their messy sketches.. if you really must, just re-do a couple of your earlier sketches to a standard you are comfortable with sharing. I will stress however that seeing the evolution from a quick messy sketch to the more refined really helps you out.
Design Development
Now that you have gone through your site and concept, start using key words that you have already used, to remind your tutor or reviewer that you have continued to use the information throughout your design development. Choose key sketches, key models, evidence of you working in plan, section and elevation and talk through your design process. This should be the longest section of your architecture review.
The Final Design
Where everything comes together. Use the key words that you have already used and take the tutor through your design. Where is the approach, what do they see when they enter, what are some features that you have thoughtfully designed into the building that both reflect your site analysis and your concept which you have kept running through the design process. Ensure you leave enough time towards the end of your review to highlight key elements of your design.
Questions at the end
Ideally you would have shown your work to others before you present and would have already had loads of questions which you can then prepare for ahead of time. There will be however curveball questions or questions no one else has thought of and you need good answers to them. ‘Because it looks good’ or ‘Because my tutor told me to’ or ‘Oh I didn’t know I needed to think of that’ are not good reasons. Use your research and knowledge to properly answer the questions and bullsh*t if you must. Of course you meant to leave out windows in this space, the idea was for it to be dark so that when you entered the main hall it contrasted blah etc. I jest, but there is room for this and there is room to admit you have missed something but will take advice on board.
After your review
Review days are long and can be incredibly exhausting so take the rest of the day to recharge. Do not however, just move on and never reflect on the work you produced and how your review went. As soon as you are able to, think about what went well, did you cover the key elements of your design, can I respond to any of the feedback…
Use this time to refine and improve on how you prepared and how you did in the moment.
Summary
The architecture review (or crit) is very important to get right, and it is a skill and process that you will continue to use and practice throughout your architecture education. Know your project the best you can, prepare as far in advance as you can, practice your presentation and confidently talk your way through the stages of your design process.
Thanks for reading! I hope this post helped you in way you needed it to!
If you’d like more guidance, I offer 1:1 tutorials available here or you have a question or a topic you’d like me to cover, drop me a message or fill out the form below - I’d be happy to write a blog post or create a resource to help you out!